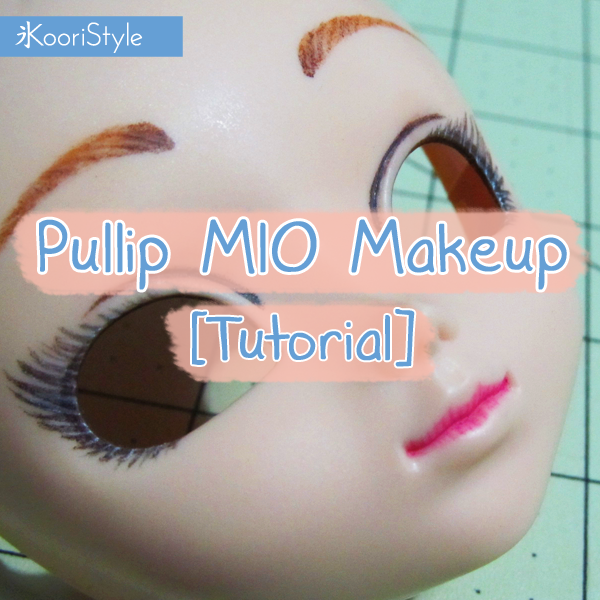
Day 3: Pullip MIO Makeup Tutorial

Hi! Here’s day three of the “Feel Good Blogging Challenge” from the lovely Alex Beadon ♥! For my surprise today’s Challenge is to create a tutorial, and I was actually working on a Makeup tutorial for Pullip dolls that I had promised last week ;) This tutorial will have lots of pictures and written steps. Let’s begin!


First we need materials:
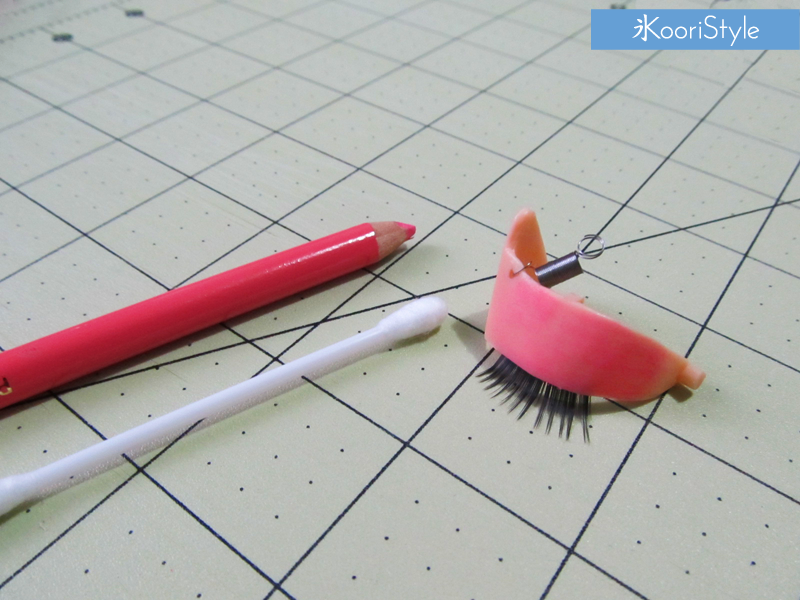
- Prismacolor pencils
- Chalk Pastels
- Sealant Spray
- Cutter to sharpen the colors
- Q-tip
- Some nail polish
- And of course, the face and eyelids of the Pullip doll


2) First we’ll do the makeup of the eyelids. With the prismacolor just color the area and soften the lines with the Q-tip (you can find inspiration in google images by searching “Pullip Makeup” or “Pullip Close Up”). Once you get the color you wanted take the chalk and, with your fingertip, grab some of the color and lightly add it above the prismacolor on the eyelid. You can mix different chalks to get the same tome of the prismacolor. Once you’re satisfied with the result. Spray sealant once again! ;)


3) Now let’s move on to the face. For the eyebrows we need to take a base color and draw the shape. For this example I used a light brown for the base and then with a darker brown I added details on the eyebrow. You can add details by drawing small lines or, if you like, you can leave only the base of the eyebrow. Spray it again with sealant!


4) Next we’ll emphasized the eyelid, you can use a darker or lighter color according to what you have in mind. Then I used the black color to add the eyeliner for the eye (Sorry T-T I forgot to take pictures of this step because I was immersed in the makeup). When you’re done seal it once again.
5) This step will be similar to the eyebrows, because for the lips we’ll add a base color and then details with a darker tone. I used light pink for the base and hot pink for the details. And again, if you decide you can just leave it with the base color ;) Now, spray sealant~!


6) Once it’s sealed and you’re satisfied with the makeup, you may add a little bit of nail polish into the lips; this will make it look as if the lips had gloss. Now you can also add any other kind of details or some blush with chalk. Remember to always spray sealant after you’re done coloring.


7) And you’re done! Now you only need to assemble your Pullip doll :D (You can read my Pullip assemble tutorial HERE)


Here’s my final result! I added some blush and drew again the eyeliner. I’m so happy with its makeup! I can’t wait for her wig to arrive~★ Have an excellent day and I’ll see you tomorrow ♥.

0 Comments