MIO Pullip Review
【 Spanish/Español : Aquí 】

Hi~ Today I'll make a review of the MIO Pullip I got last week. MIO stands for "Make It Own"; it's a kit that let us create our own Pullip doll for a cheaper price.


I bought mine at the shop I reviewed last Tuesday and the order only took 10 days to arrive home ♥. I'll show you some more images of the unboxing and the contents within the box:


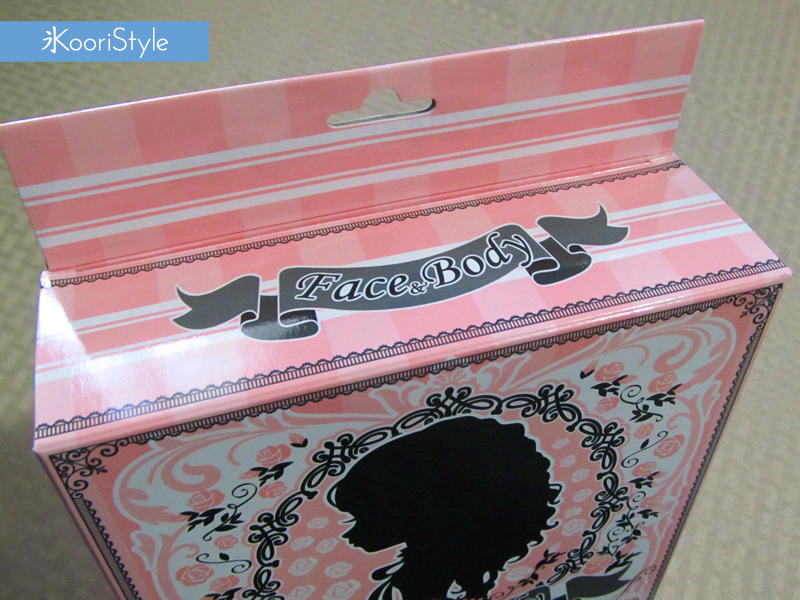
As you can see the box design is pretty and simple. The front of the box shows the contents and a preview of the skin color. At the back we can find the instructions in Japanese and English. They're pretty easy to follow so don't be afraid of the assemble process ;)


I got the "Tanned" and "Pale" MIO Pullip. The pale one reminds me of a vampire; it's really really pale, almost white. The tanned one is just some tones above the natural Pullip skin. I loved both skin colors; later I'll try getting the "Natural" and "Fair" MIO.

Don't expect to find cute decorations when you take out the inner box; this kit only gives you the basic elements to create the full body of a Pullip doll. Yes, there's no stand, no wig and no cute clothes. Even the eye-chips are transparent!

Here are all the pieces that comes inside the box of the "Tanned" MIO Pullip:
- 1 Pullip head (front)
- 1 Pullip head (back)
- 1 Body
- 1 Eyes mechanism
- 2 Eyelids
- 2 Wink bars
- 2 Eyelashes
- 2 Eye-chips
- 3 Large screws
- 3 Small screws
:: Overall [10/10] ::
In my opinion I give this “Make It Own” Pullip a 10! This is a great choice for BJD and Pullip lovers who want to try and make their own creations. Being able to make our Pullip dolls for a reasonable price is great! You just have to invest some money, time and creativity to make its make-up, eyes, wig, etcetera. Also you can buy clothes or wigs at Pullip Style or Ebay ;)In the upcoming weeks I'll post some tutorials about how to assemble your MIO Pullip, and the make-up process.
Would you like to create your own Pullip doll? Leave a comment below and have a lovely day ♥.

0 Comments